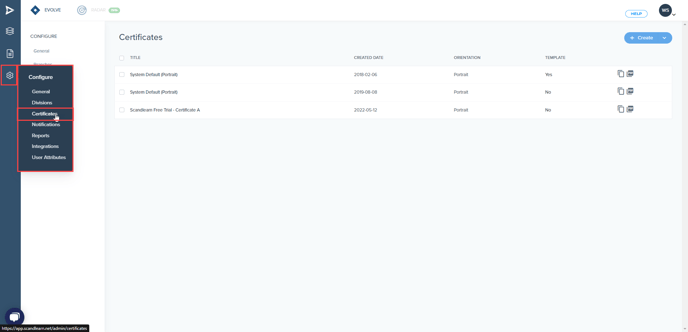
Now you can see all of the certificates available in your system. Click on the certificate you wish to edit.
If you haven't created a custom certificate yet, you'll only see the Scandlearn Default certificate. This certificate CAN'T be edited.
Therefore, to create a new certificate, you can either start from scratch or you can start with the Scandlearn template.
To start from scratch, simply click on the + Create button.
To duplicate the template, click on the duplication icon to the right of the Scandlearn certificate

Click on your duplicated certificate and continue.
Once you've entered the certificate editor you can add, edit and remove content.
To remove the expiry date, please follow the instructions below.
- Identify the expiry date
- Hover above the text box and click on the pencil icon to edit.
- Remove the Headline and the data label [expiry_date]
- Save and select the certificate on the relevant training items in your training menu.
If the Expiry date headline and data label has its own text box, you can simply press the trashcan icon to delete the entire text box.
To add an expiry date please follow these instructions.
- Decide where you want your expiry date.
- Clone the column above or create a new one by clicking on the + symbol below or above the other columns
- Enter the headline text, for example, Expiry date.
- Then below or to the side, select the shortcode Completion Expiry Date
- Save and select the certificate on the relevant training items in your training menu.
Want to change the validity of a course?