1. Upload Your Training Materials
To upload resources that you want to include in your course, go to:
Navigation:Author > Resources

In the Resources section, you’ll see a library of files already uploaded to the system. You can filter resources by type:
-
Documents (e.g. PDF, Word, PowerPoint)
-
Images (GIF, JPEG, PNG, etc.)
-
Videos (MP4, AVI, MOV, etc.)
-
Other/SCORM (ZIP, Articulate, iSpring)
To upload a new file:
-
Click “+ Upload”
-
Drag and drop your file or browse your computer manually
-
The file will be added to the library under the appropriate category
💡 Tip: These resources can be used within courses or offered as stand-alone learning content for users.
2. Create a Custom Course
Once your materials are uploaded, follow these steps to build your course.
Navigation:
Go to Manage > Training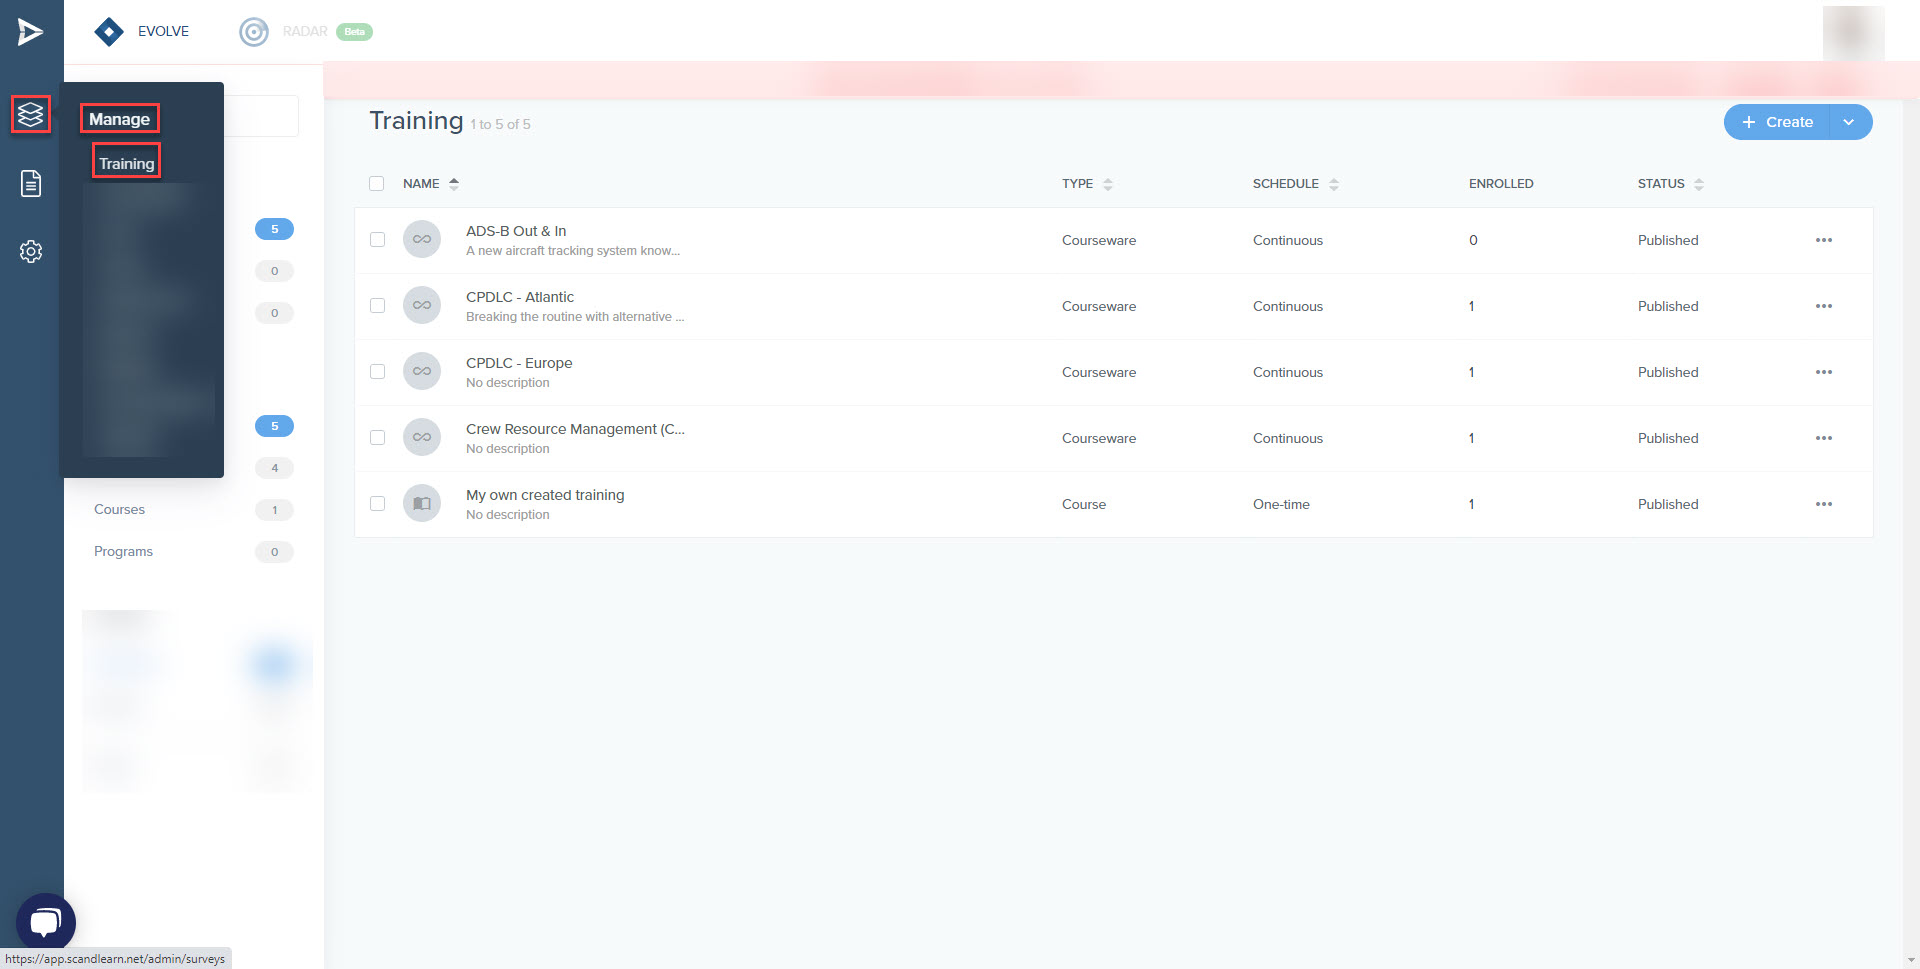
Step-by-step:
-
Click + Create at the top-right of the Training page
-
Select "Create a custom course"
-
Fill in the course details:
-
Course Name (required)
-
Description (optional)
-
Featured Image (optional)
-
-
Click Next to move to the Curriculum area
Add Content to Your Course:
In the Curriculum section, click the plus icon in the grey circle to add modules. You can:
-
Use modules from the Scandlearn e-library
-
Insert modules you’ve previously created in Author
-
Add uploaded documents, images, or videos from the Resources library
You can drag and drop items to reorder them and choose whether the modules are ordered (sequential) or unordered (free navigation).
3. Configure Course Settings
Adjust various settings according to your needs:
-
Course schedule
-
Expiry date
-
Email notifications
-
Certificates and surveys
4. Publish the Course
Once everything is set:
-
Click Publish
-
Enrolled users will be notified and invited to begin the training